Buyer planning guide
Display Fridge Size: Countertop vs Floor-Standing Cabinets
Compare GN-900RT on two support heights with GN-900L at floor level: worked top elevations, full counter footprints and an editable layout CSV.
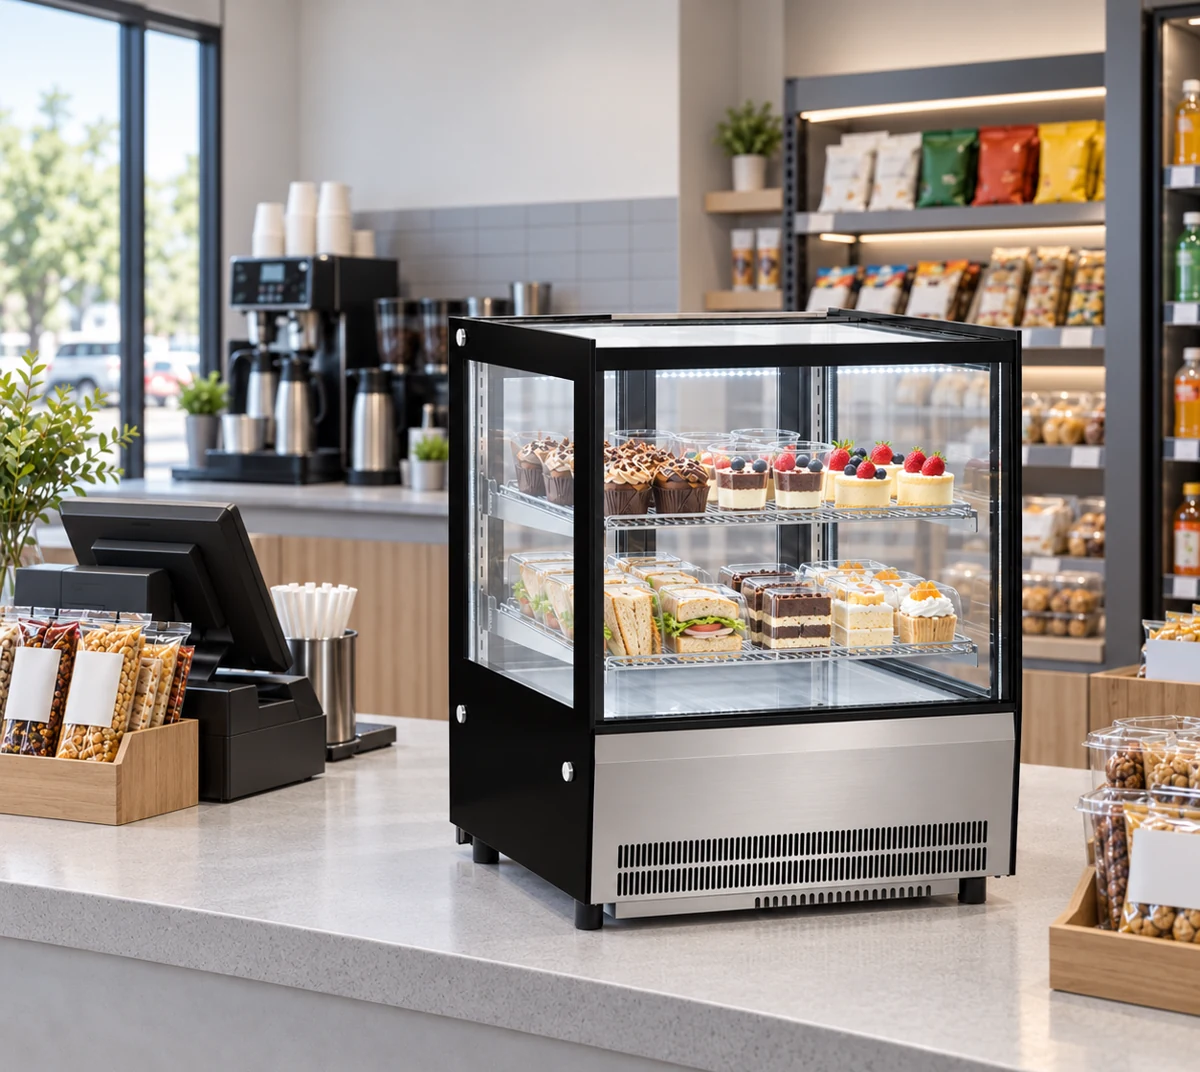
Countertop and floor-standing display fridge size chart
| JINYU model | Position and format | Width × depth × height (mm) | Capacity |
|---|---|---|---|
| GN-900L | Floor-standing open front | 900 × 740 × 1400 mm | 235 L |
| GN-1000L | Floor-standing open front | 1000 × 740 × 1400 mm | 245 L |
| GN-1200L | Floor-standing open front | 1200 × 740 × 1400 mm | 295 L |
| GN-1500L | Floor-standing open front | 1500 × 740 × 1400 mm | 365 L |
| GN-900CT | Countertop cake display | 900 × 530 × 730 mm | 120 L |
| GN-1200CT | Countertop cake display | 1200 × 530 × 730 mm | 162 L |
| GN-660RT | Countertop cake display | 660 × 530 × 730 mm | 102 L |
| GN-900RT | Countertop cake display | 900 × 530 × 730 mm | 140 L |
| GN-1200RT | Countertop cake display | 1200 × 530 × 730 mm | 190 L |
Worked elevation: a shorter cabinet can produce a higher display
Download the worked schedule (CSV) →
| Layout | Recorded cabinet | Illustrative support / counter | Calculated outline or elevation |
|---|---|---|---|
| A / lower support | GN-900RT: 900 × 530 × 730 mm | Support height 850 mm | Top: 1580 mm above floor |
| B / higher support | GN-900RT: 900 × 530 × 730 mm | Support height 950 mm | Top: 1680 mm above floor |
| C / floor position | GN-900L: 900 × 740 × 1400 mm | Floor level | Top: 1400 mm above floor |
| A and B / whole counter | Cabinet body footprint 0.477 sq m | Counter 1500 × 650 mm | Counter footprint 0.975 sq m |
| C / cabinet outline | GN-900L: 900 × 740 mm | No counter in this example | Cabinet footprint 0.666 sq m |
How can I compare display height when the support counter is still being chosen?
Draw two elevations using the same finished-floor datum. GN-900RT has a recorded cabinet height of 730 mm. On an illustrative 850 mm-high support, its top reaches 1580 mm above the floor. Raise the support to 950 mm and the top reaches 1680 mm. The 100 mm change comes entirely from the support. GN-900L stands 1400 mm high from its own base, placing its top 180 mm below the first arrangement and 280 mm below the second in this example.
Mark overhead fixtures and the customer viewing position on each elevation using actual site measurements. The top elevation locates the cabinet body; it does not establish visibility of a particular shelf or the reach needed to replenish it. Request the shelf positions and access drawing for the shortlisted model. Put those dimensions on the same floor datum before deciding which support height suits the intended service. Retain both alternatives until the counter designer and equipment reviewer have responded against the selected layout.
Why does the smaller countertop body not always save floor space?
Include the supporting furniture when drawing the occupied floor area. GN-900RT has a 900 × 530 mm body outline, calculated as 0.477 square metres. In the worked layout it stands on a buyer-proposed 1500 × 650 mm counter. That complete counter occupies 0.975 square metres. GN-900L has a 900 × 740 mm body outline of 0.666 square metres. The proposed counter exceeds that floor-standing outline by 0.309 square metres before either layout includes installation or working space.
The counter also provides surface beyond the cabinet: its frontage difference is 600 mm and its depth difference is 120 mm. These are total dimensional balances, not assigned working zones or ventilation gaps. Draw where the cabinet sits before allocating any remaining surface to packing. For the floor-standing alternative, show the separate packing surface if one is needed. Compare the two complete layouts using the same service task, with model-specific installation requirements and staff movement added to both. This prevents an equipment-only rectangle from being compared with an entire counter arrangement.
Should I choose a countertop or floor-standing display fridge size?
Choose the display position before comparing litre figures. A countertop cabinet occupies a supporting surface; a floor-standing cabinet occupies floor space and changes the customer route beside the counter. The same cabinet width can therefore describe two different shop layouts. Mark the equipment position and intended serving side on a plan before selecting either format.
This comparison covers five JINYU CT and RT countertop cake displays and four L-series floor-standing open-front chillers. Their recorded widths overlap at 900 and 1200 mm, but their depths, heights and capacities differ. The chart keeps those measurements together so you can compare two proposed layouts against the same room. Use the broader display fridge size guide for other cabinet series.
How different are two 900 mm-wide display fridges?
GN-900CT measures 900 × 530 × 730 mm and lists 120 L. GN-900RT has the same overall dimensions and lists 140 L. GN-900L measures 900 × 740 × 1400 mm and lists 235 L. All three occupy 900 mm of frontage, while the L cabinet is 210 mm deeper and 670 mm taller than either countertop cabinet when measured from its own base.
These dimensions explain why width alone cannot identify a replacement cabinet. Draw the countertop and floor positions separately, including the supporting counter where applicable. The CT has curved front glass and the RT has straight front glass; the L is an open-front format. Keep the access arrangement beside the dimensions when discussing how customers or staff will select products.
What changes when I move from 900 to 1200 mm width?
Within CT, moving from GN-900CT to GN-1200CT adds 300 mm of width and changes listed capacity from 120 to 162 L. Within RT, the corresponding change is from 140 to 190 L. Both countertop ranges retain a listed depth of 530 mm and height of 730 mm at these widths. This makes the extra frontage easy to show on a counter plan.
The L comparison changes capacity from 235 L at GN-900L to 295 L at GN-1200L, with depth remaining 740 mm and height 1400 mm. Capacity increases by 60 L in that pair. These are comparisons of listed cabinet data. Ask for usable shelf dimensions before translating any capacity difference into additional cakes, bottles or finished packs.
How do I compare the floor footprint with counter space?
Multiply width by depth after converting both dimensions to metres. GN-900CT and GN-900RT each have a rectangular cabinet outline of 0.9 × 0.53 = 0.477 square metres. GN-900L has an outline of 0.9 × 0.74 = 0.666 square metres. The difference is 0.189 square metres. These figures describe cabinet outlines only, excluding installation space and access.
For the countertop option, include the actual supporting counter in the floor plan. A cabinet outline of 0.477 square metres does not mean that the whole arrangement occupies that much floor area. Show the counter base, its projections and staff working position. For the L option, draw the cabinet at floor level and add the model-specific installation spaces from its drawing.
Which display is taller once the countertop cabinet is installed?
Compare the top of each cabinet relative to the finished floor. In a hypothetical layout with a 900 mm-high supporting counter, a 730 mm-high CT or RT cabinet reaches 1630 mm above the floor. The listed height of the L cabinet is 1400 mm. In that example, the countertop arrangement reaches 230 mm higher even though its cabinet alone is shorter.
Record the actual support height rather than carrying the example into a real project. Draw nearby shelving, signage and customer sight lines on the same elevation. Request the base-support and installation drawings for the countertop candidate. Review counter construction and the offered cabinet weight with the person responsible for the support; dimensions do not establish a counter's load capacity.
Does more litre capacity mean the display holds more saleable items?
Compare the real assortment on a shelf layout. A cake board, a bottle cap and a projecting pack lid each affect usable spacing differently. Listed litres provide a cabinet comparison, while shelf width, depth, vertical spacing and loading guidance determine how the proposed products can be arranged. Ask for those details against the exact model code.
Prepare one item schedule for both cabinet options. Record the outside dimensions of each finished item, its display orientation and the number of visible positions you want. Keep reserve stock in a separate line. Compare service access as well: a staff-served cake cabinet and an open-front selection point can require different replenishment paths even when they display similarly sized packs.
What measurements belong outside the cabinet outline?
Add the installation gaps, connection positions and service-access requirements supplied for the selected configuration. Then show where staff stand, where a customer stops and how replenishment reaches the display. Include any door movement shown in the model documents. Keep these spaces labelled separately from the recorded width, depth and height so a change of model does not hide an access requirement.
Survey the receiving route independently. Packed dimensions and handling arrangements can differ from the unpacked cabinet outline in this chart. Photograph entrances, turns and the final equipment position. For a countertop installation, include the final movement onto the prepared support in the receiving plan and ask the responsible team to review the handling arrangement.
What should I send for a countertop versus floor-standing comparison?
Send a floor plan and counter elevation using one measurement unit. Identify the proposed countertop and floor positions, measured frontage, counter depth and support height. Attach the product-item schedule, photographs from customer and staff sides, and your shortlisted model codes. State the destination and site electrical supply with the inquiry so the response addresses a specific installation.
Request separate responses for the countertop and floor-standing alternatives using the same plan revision. Keep the equipment outline, support arrangement and access requirements visible together when comparing the returned proposals.
Reference sources
- Compare all display fridge sizes
- Compare countertop CT and RT sizes
- Floor-standing L-series models
- Review countertop support requirements
- Send a display fridge inquiry
Regional references support general planning; model-specific specifications come from the published JINYU model tables.