Buyer planning guide
Custom Bag Inquiry: Print Placement and Proof Measurement Sheet
Locate artwork from finished bag edges, compare two placement revisions and download a CSV for requested, proof and sample print measurements.
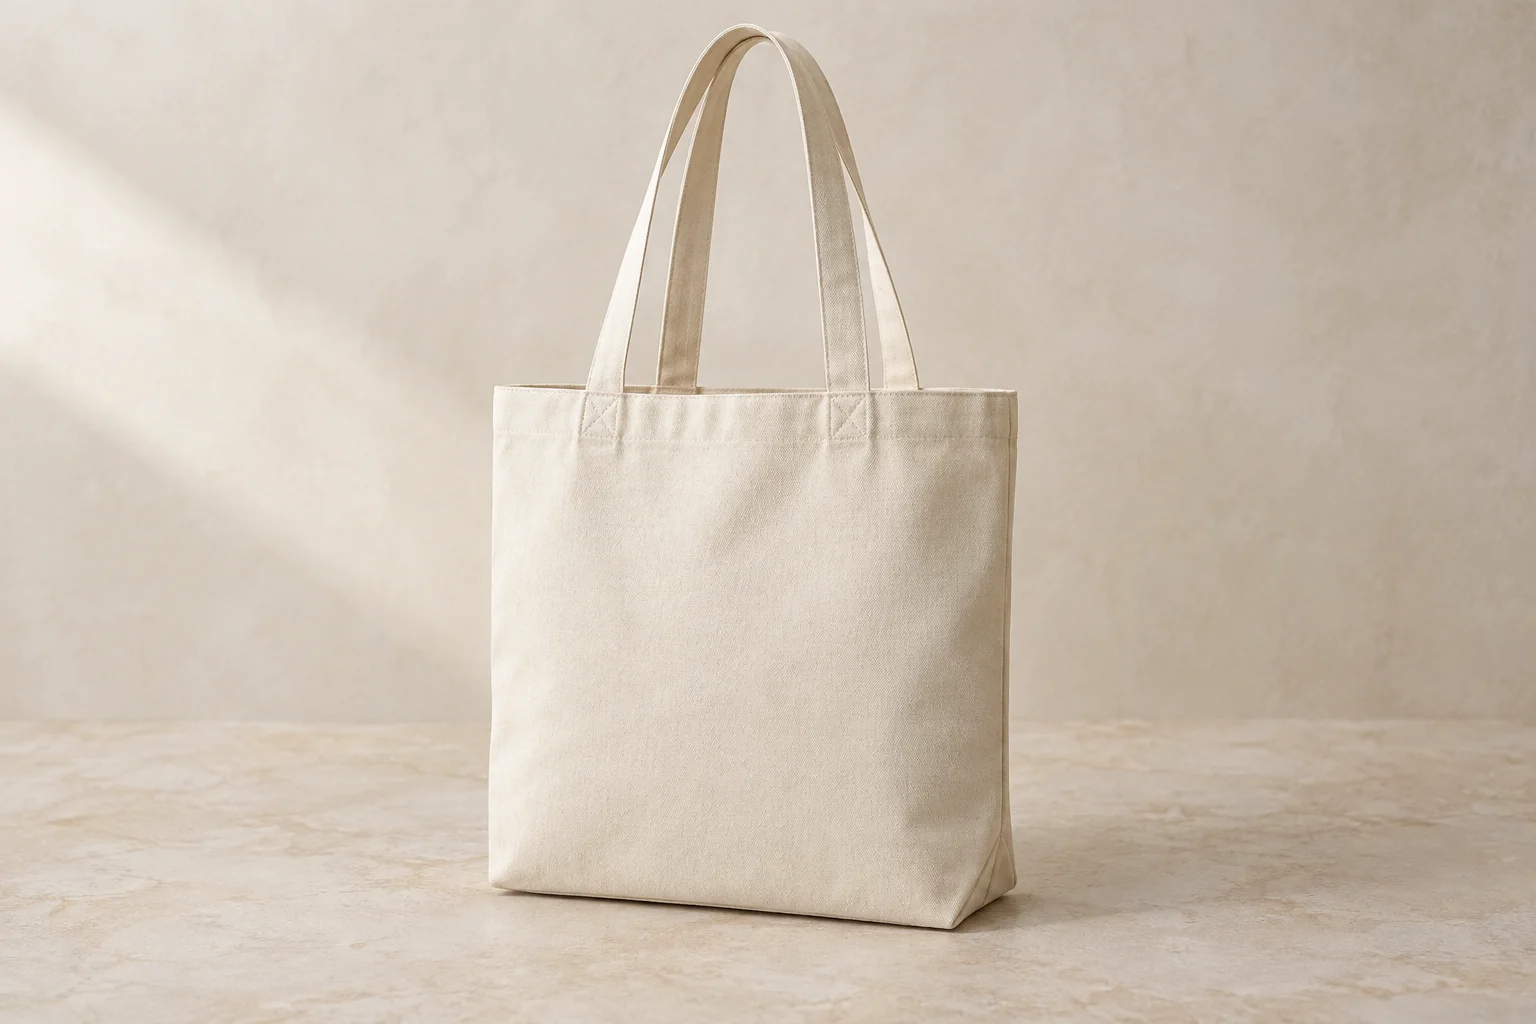
Worked print-placement comparison and editable record
This example uses a 360 × 400 mm finished face, viewed from outside. The origin is its upper-left corner; x runs right and y runs down to the artwork box's upper-left corner. All values are illustrative buyer drawing inputs.
| Drawing | Artwork | x | y | Width | Height | Right margin | Bottom margin |
|---|---|---|---|---|---|---|---|
| A | ART-01 r1 | 140 | 120 | 80 | 100 | 140 | 180 |
| B | ART-01 r1 | 140 | 150 | 80 | 100 | 140 | 150 |
The face-edge margins locate the example rectangle. Record the actual seams, handles, pockets and proposed print process on the returned construction drawing.
Download the print-placement record (CSV) ↓
The editable sheet starts with separate front and back outside-face rows. It keeps requested coordinates, returned proof coordinates and observed sample coordinates in different columns, alongside drawing, artwork and photo references. Add one row for each separately positioned design.
How do I specify print placement in a custom bag inquiry?
Name the bag line, face and artwork revision, then locate the printed design on a dimensioned finished-face drawing. Give the design's width and height and measure its position from two named edges. State the viewing direction: a front view of the outside face has a different left side from a view through the fabric. Include the artwork file separately so the drawing carries placement information while the file carries the actual design.
The worked sheet on this page compares two requested placements on an illustrative canvas tote face. It uses a 360 mm wide, 400 mm high rectangle with an 80 × 100 mm artwork box. These are example drawing inputs, not a JINYU stock size or an offered printing specification. A custom canvas tote, backpack or travel bag needs its own finished drawing and a response identifying the proposed construction and print process.
Where should the measurement origin be on the bag drawing?
Choose the upper-left corner of the outside finished face as the origin in this example. The x measurement runs rightwards to the artwork box's left edge; y runs downwards to its top edge. Write both directions on the drawing. Name the top reference precisely, such as the finished top edge, rather than switching between the handle, folded hem and fabric cut edge. Keep the body outline and artwork box on the same drawing revision.
Placement A starts at x = 140 mm and y = 120 mm. The right margin is 360 - 140 - 80 = 140 mm; the bottom margin is 400 - 120 - 100 = 180 mm. The equal left and right margins place the box horizontally in the centre of this example face. They do not describe how the printed design will appear on a filled or curved bag.
How do I distinguish artwork size from the visible printed design?
Label the boundary being measured. A file can contain empty space around its visible artwork, and a rectangular placement box can surround an irregular design. State whether 80 × 100 mm refers to the whole file boundary or the visible design boundary. Include a dimensioned proof showing the intended boundary. A filename or image pixel count alone leaves the physical printed size unanswered.
For a design containing a small wordmark above a larger motif, identify whether the measurement includes both elements. If they are positioned separately, give each element its own reference and location. Keep the complete composition reference as well. Ask the returned proof to repeat those dimensions in millimetres, rather than judging its physical size from a screenshot displayed at an arbitrary zoom level.
How can I compare two placement revisions without changing the artwork?
Preserve the artwork identifier and dimensions, then put each placement on its own row. Placement B in the worked sheet uses the same 80 × 100 mm artwork box and x = 140 mm, but changes y from 120 to 150 mm. Its bottom margin becomes 150 mm. The design moves 30 mm down the example face; its size and horizontal position remain unchanged.
Record which revision is requested and retain the earlier drawing with its original label. If the response returns Placement A after you requested Placement B, record the location difference against that face. A matching artwork filename establishes only the file reference. It does not establish that the proof uses the current placement, so compare the drawing revision, artwork dimensions and position independently.
What should the proof show near handles, seams and pockets?
Show the relevant construction outlines beside the design: handle attachment areas, the top hem, panel seams, pocket outlines and closures. Identify any feature that the design approaches or crosses. Ask the respondent to return the proposed print location on the offered construction drawing, with the print process identified. Use that response to discuss the actual relationship between the artwork and the sewn features.
The calculated right and bottom margins in this sheet are distances to the example body's outside edges. They are not seam allowances or printing clearances. The example assigns no universal clearance from a handle or seam. For a backpack panel or travel-bag pocket, use that panel's own finished outline and viewing direction; copying tote coordinates onto another construction would leave the design's intended position unclear.
How should I record a sample against the requested print placement?
Keep requested, proof and observed sample measurements in separate fields. Identify the sample and drawing revision, photograph the complete face, then show the measurement endpoints beside the artwork. State how the bag was laid out during measurement. A flexible face can change shape with contents or handling, so keep the same presentation when comparing the drawing with the sample photographs.
For the worked example, a sample observation of y = 153 mm against Placement B at 150 mm records a difference of +3 mm. It does not establish an agreed acceptance tolerance. Write the observation, its photograph reference and the requested response together. Retain any agreed measurement method and project-specific acceptance wording with the sample record, rather than adding an assumed tolerance to the catalogue.
What files belong with the final print-placement inquiry?
Send the complete bag brief, finished-face drawing, artwork files, placement sheet and any relevant reference photographs. Give every printed face its own row, even when the same artwork appears on both sides. Repeat the bag line and current revision on each attachment so the response can identify which construction, file and placement it addresses. Include the intended material and print appearance in the brief.
The downloadable CSV provides empty requested, returned-proof and observed-sample fields. Complete it with your project information and keep the original attachments alongside it. For small-quantity non-woven bags, start with the stock range; use a custom project brief for canvas totes, backpacks and travel bags. Send the current package to JINYU, Shaanxi Jinyu Kitchenware Co., Ltd. (陕西金宇厨具有限公司), with the specific placement questions you want the response to address.
Reference sources
- Prepare the complete custom bag inquiry
- Allocate artwork revisions to bag quantities
- Specify pocket placement on the construction drawing
- Custom canvas totes
- Send the drawing and artwork references
Regional references support general planning; model-specific specifications come from the published JINYU model tables.