How do I plan product labels for a grab-and-go counter?
Start with a product list, then assign each pack reference to a named position on a shelf drawing. Give every position a code that appears on both the drawing and the label schedule. Record the product name, the pack identifier used by your team and the label text revision beside that code. This creates a direct connection between the product, its intended location and the information a customer sees when choosing it.
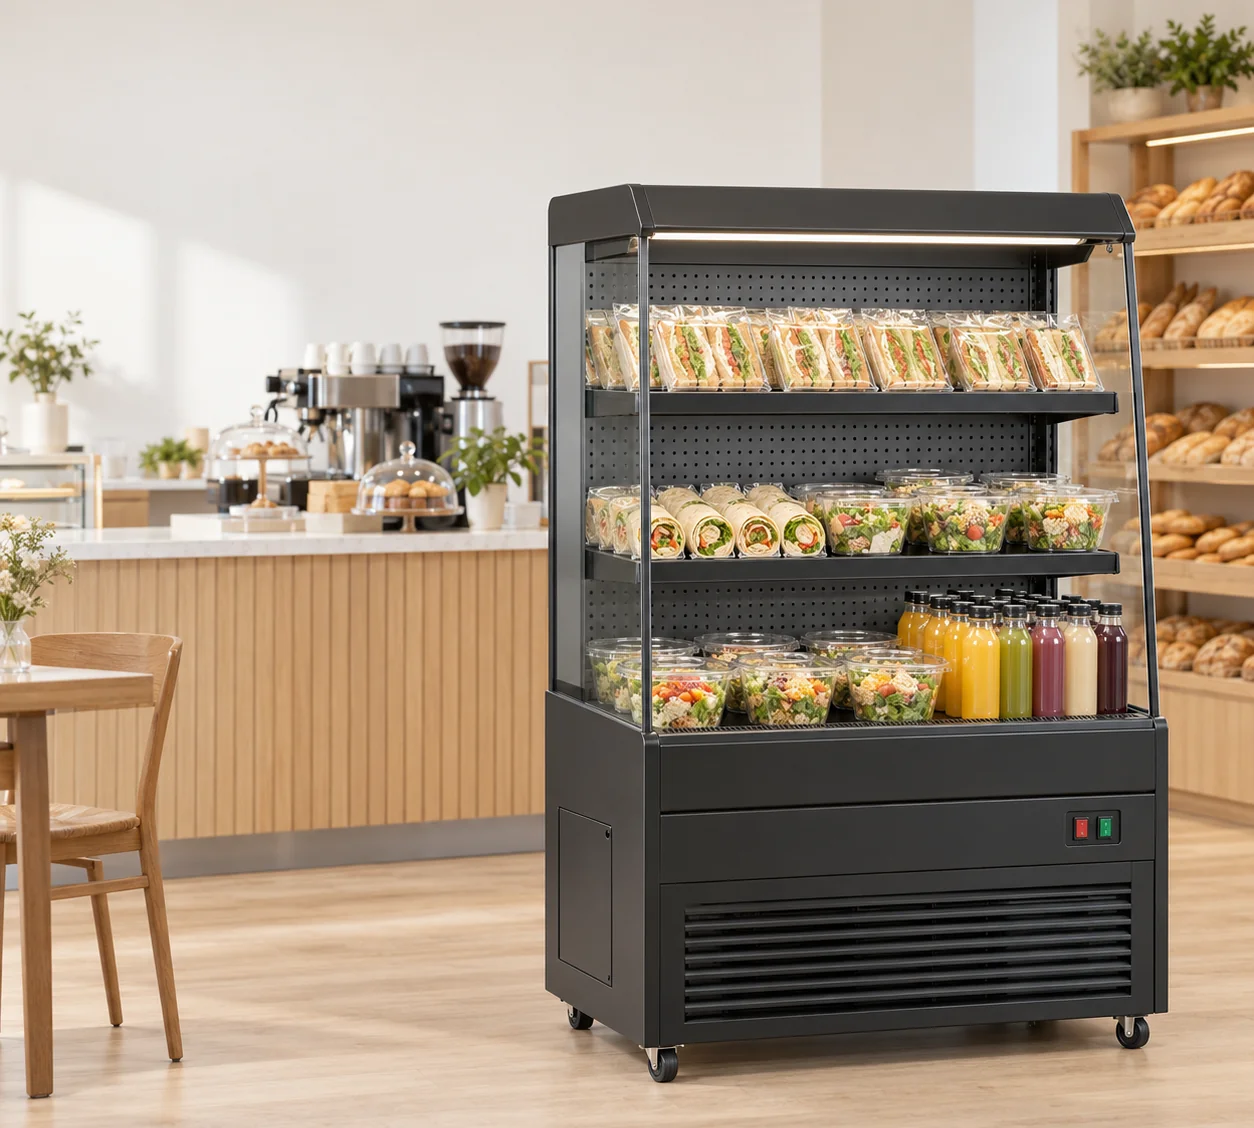
Use a separate line when two products look similar but contain different ingredients or have different pack sizes. A single row called sandwiches makes those differences difficult to track. The equipment inquiry can carry the shelf map and proposed label arrangement together. JINYU can then review the requested cabinet configuration against an identified display plan rather than a photograph with no position references.
Which cabinet dimensions belong on the shelf map?
Write the complete model code and cabinet outline in the map header. The four L-series models below are 740 mm deep and 1400 mm high, with widths from 900 to 1500 mm. Those measurements describe the exterior. Draw the actual usable shelf boundaries from the configuration drawing or measured cabinet, and identify which dimensions were measured and which came from a document.
Keep each level separate. GN-900L, GN-1200L and GN-1500L record two shelves plus a base deck; the GN-1000L catalogue row records two shelves. Preserve that wording when preparing the inquiry. Ask for the selected configuration drawing to identify the loading areas. A wider cabinet does not establish a proportional number of product labels, because pack outlines and usable shelf boundaries still determine the proposed arrangement.
How should I connect similar packs to the correct label?
Create one product key for each distinct pack and use it consistently on the stock list, shelf map and label schedule. In the worked example, P-A and P-B are two buyer-defined pack references. Their assigned positions are S1-A and S1-B. The label artwork identifiers are L-A-r2 and L-B-r1. These codes are illustrative; they describe an organising method rather than a JINYU accessory or supplied labelling system.
Walk the display from the customer's side with the proposed packs in their assigned positions. Record whether each label is visually associated with one product or appears to sit between two. Photograph the complete shelf and one close view of each questionable pairing. Retain the pack reference in the photograph filename so the person reviewing it can trace the observation back to the correct worksheet row.
What should I measure before requesting label holders?
Record the proposed label dimensions and the intended attachment location on the shelf drawing. Ask for the shelf-edge profile, available attachment area and any model-specific holder options. Keep requested dimensions separate from a supplied accessory specification. A catalogue image showing a shelf edge does not identify the fixing method, holder dimensions or included accessory package for your selected configuration.
Include a side view showing how the proposed label or holder sits relative to the front of the packs. Mark any projection into the customer approach or the loading path. Keep the cabinet's installation and airflow instructions attached to the review. The worksheet should identify the accessory question and its response; it should not supply an improvised fixing method or an assumed permitted projection.
How can the team review readability without inventing a standard?
Set up the proposed label artwork at its intended printed size and record the viewing position used for the review. Photograph it with the complete pack arrangement under the planned lighting. Ask the site team to record the words they can read and the parts obscured by packs, shelf edges or reflections. Keep the observed result beside the exact artwork revision rather than recording a general judgement such as labels look fine.
A customer choosing a pack and a colleague replenishing from the side may see different parts of the display. Record those observations separately. If the site has its own accessibility or retail presentation requirements, identify the applicable document in the review. The cabinet dimensions alone do not establish a reading distance, type size or label specification for the project.
What happens to the map when a product changes?
Treat a changed product as a revision to its own worksheet line. Record the old product reference, the replacement reference and the positions affected. Review the pack outline, proposed location and label text together. Moving a replacement into an existing position without updating its label creates a mismatch even when the pack physically occupies the same space.
For the worked example, replacing P-B with P-C leaves position S1-B in place but changes the product and artwork references. The revision table shows that handover explicitly. Retain the replaced line with its revision date, then issue the current shelf map and label schedule as one set. Give the receiving colleague a list of changed positions so the physical display can be checked against the new issue.
Does a shelf label replace information on the individual food pack?
Keep the shelf presentation record and the food-pack information record distinct. The site operator should identify the product information required for its products and market, and assign responsibility for reviewing the actual pack and label text. The shelf map links a product to a location; it does not establish that the food packaging carries the required information or that a stated storage condition is appropriate.
Include the operator's product storage requirements in the equipment brief. The listed L-series cabinet range is 2-8°C, but that equipment specification is separate from the required conditions for each product. Carry the product requirement, equipment response and site operating procedure as identifiable documents. Review a substitution against those documents as well as its position and label artwork.
What should I send JINYU with the completed map?
Send the model shortlist, product list with pack dimensions, numbered shelf map, proposed label dimensions and artwork references. Add customer-side photographs, the proposed attachment location and the specific accessory questions that need a response. Identify whether the map represents an existing cabinet or a proposed layout. Use a revision number and date so all documents describe the same display arrangement.
Shaanxi Jinyu Kitchenware Co., Ltd. (陕西金宇厨具有限公司) can use these records to discuss the selected equipment and requested configuration. Keep the response beside the worksheet row it addresses. After any model or accessory change, update the map header and affected rows before passing the documents to the site team. The same position codes can then support the separate replenishment worksheet.